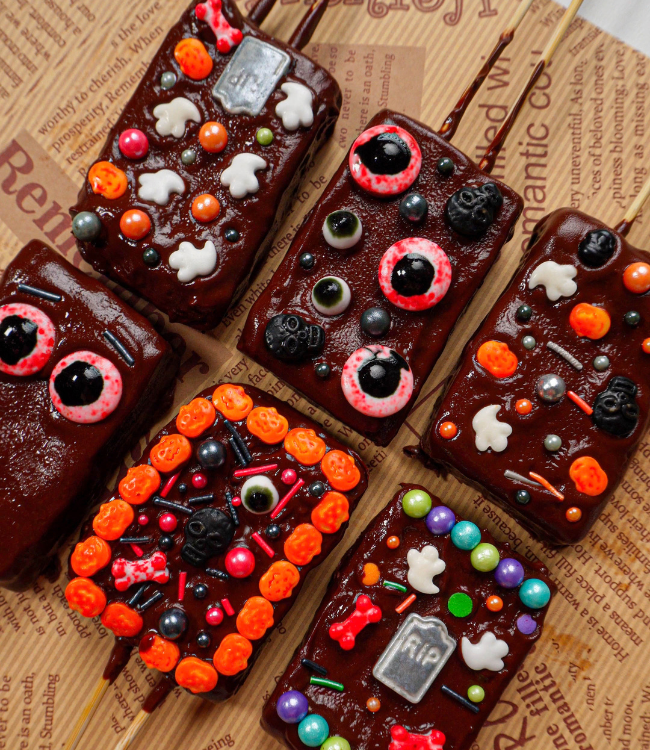

These Halloween Brownie Pops are easy to make and make Halloween baking even more fun! Cut rich, fudgy brownies into bite-sized pieces, place them on sticks, dip them in chocolate, and transform them into the cutest little Halloween monsters.
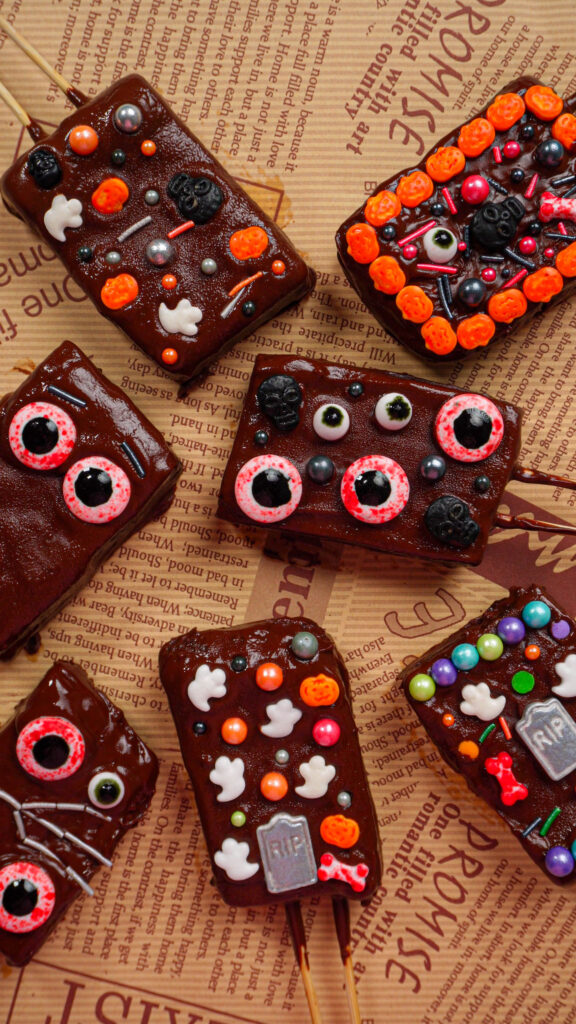
If you have kids, they’ll love this Halloween activity. Let them take over the decorating and turn each brownie into its own little monster. They can get creative with the faces, colors, and decorations. They don’t have to look perfect; the more creative and silly they are, the better!
Give them spooky eyes, little pumpkins, ghosts, sprinkles, or whatever Halloween decorations you have on hand. Each brownie can have its own personality, making these brownie pops perfect for Halloween parties or a fun afternoon baking project with the kids.
Tips for Making Brownie Pops
Don’t over mix the batter: Once the flour is added, mix just until the dry ingredients disappear to keep the brownies fudge.
Chill the brownies: Warm brownies are soft and much harder to cut and put on sticks. Let the brownies chill in the fridge at least 4 hours to be firm enough to handle the sticks and dipping process. Overnight chilling works especially well.
Use a deep glass: A deep glass works best for coating the brownie because it makes it easier to fully dip the brownie pops
Work while the chocolate is still wet: Add your decorations before the coating sets so everything sticks properly.
Halloween Brownie Pops
PRINT RECIPE PIN RECIPEIngredients
- 2 Eggs
- 133 g dark chocolate (70% cocoa)
- 70 g unsalted butter
- 80 g white sugar
- 30 g brown sugar
- 45 g all-purpose flour
- 20 g cocoa powder
- 1 tsp vanilla extract
- A pinch of salt
- 300 g semi-sweet chocolate (for coating)
- Halloween-themed sprinkles
- Wooden skewers or popsicle sticks
INSTRUCTIONS
- Add the dark chocolate and unsalted butter to a microwave-safe bowl.
- Microwave on high for 30 seconds, then remove and stir well. Continue microwaving in 30-second intervals, stirring well between each interval, until the chocolate and butter are completely melted and smooth. Set aside to cool.
- Add the eggs, white sugar, and brown sugar to a large mixing bowl.
- Using an electric hand mixer, beat until the eggs becomes pale, thick, and doubles in volume. When you lift the whisk, the mixture should leave visible ribbons or trails on the surface that quickly disappear.
- Pour the melted chocolate and butter mixture into the whipped eggs, and add the vanilla extract and gently mix until everything is well combined.
- Sift in the flour and cocoa powder, then add a pinch of salt. Gently mix until just combined and there are no visible streaks of dry flour. Avoid overmixing.
- Line a 22 × 17 × 4.5 cm baking pan with parchment paper.
- Pour the brownie batter into the pan and gently tap the pan for a few times to release any large air bubbles.
- Bake at 170°C (338°F) for about 15 minutes.
- Let the brownies cool completely to room temperature.
- Once cooled, refrigerate for at least 4 hours, preferably overnight. Chilling the brownies makes them much easier to cut and insert onto sticks without falling apart.
- Place the semi-sweet chocolate in a deep, microwave-safe glass.
- Microwave in short intervals, stirring well between each interval, until completely melted and smooth.
- Remove the chilled brownie from the pan and cut it into 8 equal squares.
- Insert 2 wooden skewers or popsicle sticks into each brownie so that they look like popsicles.
- Dip each brownie into the melted chocolate, making sure it is completely covered.
- The coating will be thick, so allow the excess chocolate to drip off. If needed, gently run the brownie against the edge of the glass to remove some of the excess chocolate.
- Place each chocolate-coated brownie onto a baking sheet lined with parchment paper.
- While the chocolate is still wet, decorate with your Halloween-themed sprinkles. Have fun with this part, you can make each brownie look different!
- Place the decorated brownie pops in the refrigerator until the chocolate coating is completely set.
- Once set, they’re ready to serve!