
My Go-To Focaccia: Simple, Golden, and Perfect Every Time
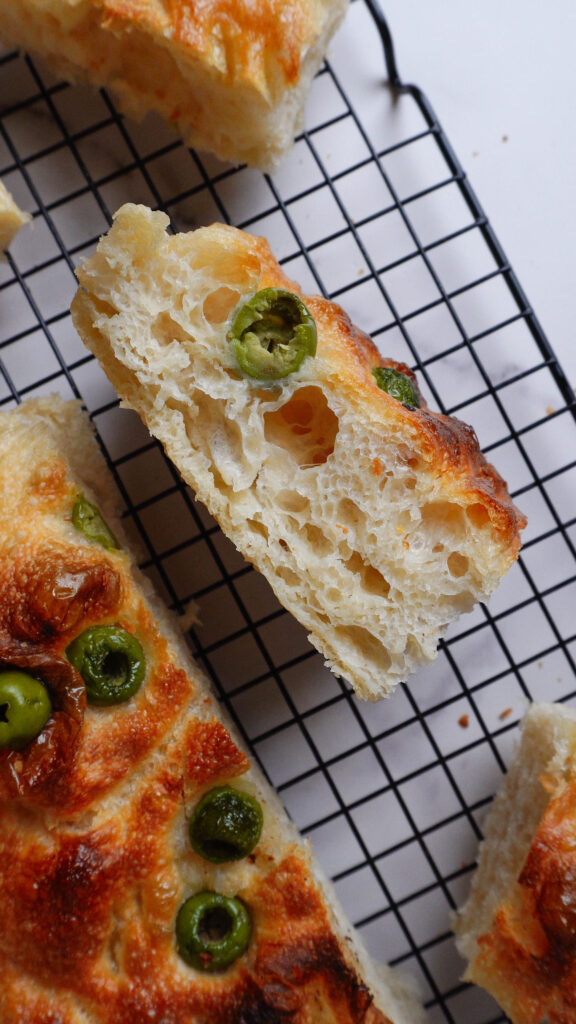
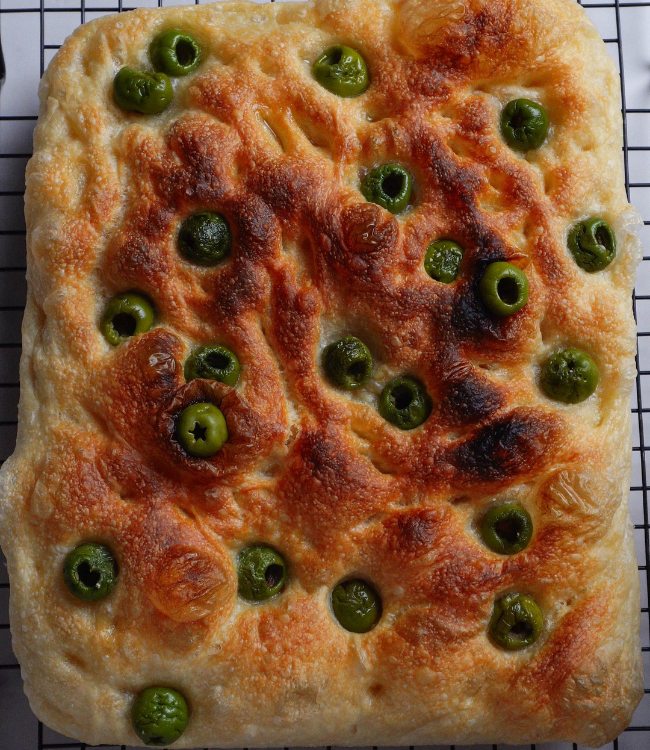
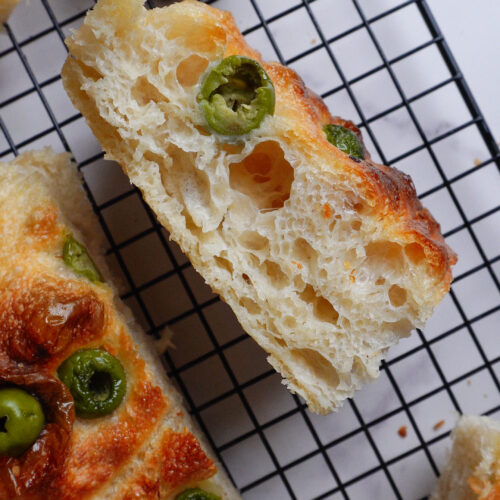
My holy grail focaccia recipe. I’ve been using this recipe for years now, and it has never, ever failed me. Even my 7-year-old likes it as much as I do. The recipe comes out exactly what a great focaccia should be: a crisp, golden crust with a light and airy interior.
For the longest time, I thought making proper, bubbly focaccia was something only professional bakers could do. Turns out, I was wrong. This recipe is so simple that it feels like a cheat code.The magic happens overnight in the fridge. While you sleep, the dough is slowly working, developing this incredible, complex flavor. The next day, all you do is plop it into a pan, let it get puffy and jiggly, and then comes the best part: dimpling it with your fingers. There’s something so wonderfully therapeutic about pressing your fingertips into that soft, oily dough
I like mine with a handful of green olives or just a generous amount of flaky sea salt; the topping is flexible, you could add any topping you like. This loaf freezes beautifully. I always stash whatever we don’t devour immediately in the freezer. Heat a slice straight from the freezer in a 180°C oven for 2-3 minutes. It comes out warm with a perfectly crispy crust, just like it was freshly baked.
Easy Homemade Olive Focaccia
PRINT RECIPE PIN RECIPEIngredients
- 300 g bread flour
- 252 g warm water
- 10 g honey
- 1/2 tsp salt
- 3/4 tsp instant dry yeast
- 1 tbsp olive oil
- green olives
- olive oil (for coating and drizzling)
INSTRUCTIONS
Day 1: Mixing and Cold Fermentation
- Mix the Dough:In a large bowl, whisk together warm water(about 38-40°C / 100-105°F), yeast, honey, and olive oil; mix well. Add the flour and salt to the wet mixture, mix until no dry flour remains, and a shaggy, sticky dough forms.
- First Rest: Cover the bowl with plastic wrap and let the dough rest for 30 minutes to fully hydrate the dough.
- First Set of Folds (30-minute mark): Use a wet hand to gently stretch it upwards, and fold it over to the opposite side of the bowl. Rotate the bowl one quarter and repeat this folding process three more times (for a total of four folds). Cover the bowl and let it rest for another 30 minutes.
- Second Set of Folds (60-minute mark): Perform a second set of four folds, exactly as before.(Remember to use a wet hand to prevent the dough from sticking!) At this point, the dough should feel smoother, tighter, and less sticky.
- Cold Fermentation: Drizzle olive oil over the dough and use your hands to spread it out to cover the surface of the dough. The oil will help to prevent the dough from sticking to the bowl during the rising process. Cover the bowl tightly with plastic wrap and place it in the refrigerator overnight( a minimum of 12 hours).
Day 2: Shaping, Final Rise, and Baking
- Remove the dough from the fridge. Add olive oil to your baking pan(28×23×2.5 cm / 11×9 inch), and spread it evenly across the bottom. Place a sheet of parchment paper on top of the oil, pressing it down so it stays in place. Brush more oil on the sides of the pan and over the parchment paper.
- Take the dough out of the fridge and gently tip the dough into the prepared pan. To create a rough rectangle, fold the bottom third of the dough up to the middle and the top third down over it. Then, swiftly but gently, flip the entire dough over.
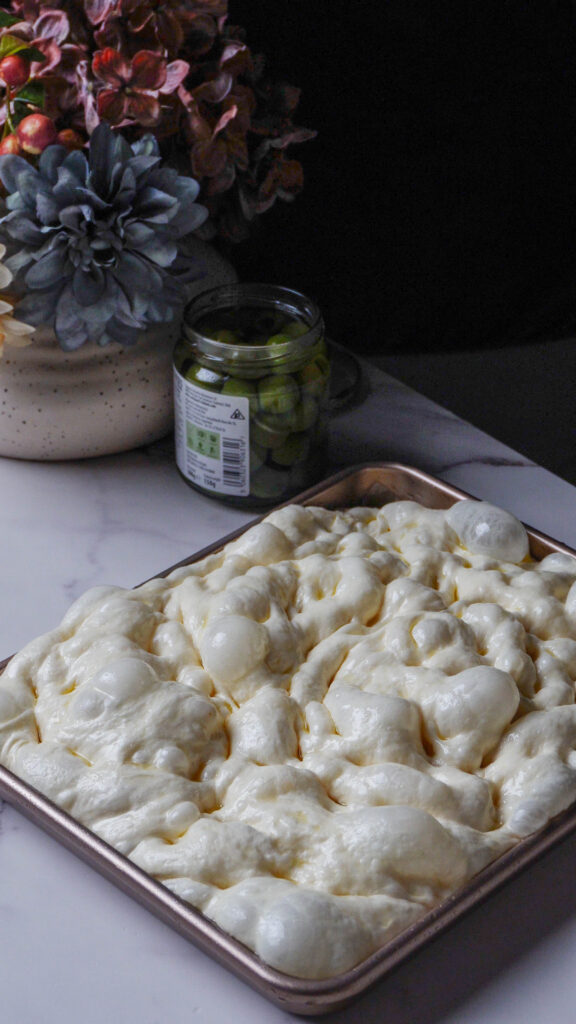
- Cover the pan with plastic wrap. Let it rise in a warm spot for 2 hours. The dough is ready when it is marshmallowy, jiggly, and has almost filled the corners of the pan, nearly reaching the top.
- Towards the end of the rise, preheat your oven to 200°C (400°F).
- Generously drizzle olive oil over the risen dough. Starting at one edge, press the tips of your fingers straight down (like playing a piano) until you touch the bottom of the pan, creating deep dimples. Work your way across the entire surface. If there are any large untouched areas of the dough, add additional dimples using one finger.
- Stuff the olive deeply into the dough. As many as you want.
- Bake for 20-25 minutes, or until the top is a deep golden brown and the edges are crisp. If necessary, move the pan to the top rack, and broil briefly for the final 1 to 2 minutes to achieve the desired color. Watch closely to prevent burning.
- Let the focaccia cool to touchable temperature and transfer it to a wire rack to cool completely. Enjoy!