
The Plamier Project At Home
This isn’t a quick recipe. It’s a weekend project for when you want to really bake. The secret is layers. We create them through “laminating”—folding butter into dough repeatedly. This French Palmier recipe goes for eight turns, which is what gives you that incredible, delicate crunch.
It can be pretty intimidating to make pastry as a home baker. And trust me, if you feel that way, I totally get it. I’ve tried countless times to bake croissants that actually look like croissants—and even dreaming about that perfect honeycomb interior feels like wishful thinking. My success rate? Basically zero. Lamination is always where things fall apart for me.
But this Palmier recipe is a completely different story. Technically, it’s still pastry, but the dough is unlike your typical pastry dough. It’s wet, sticky, and soft—so soft that it practically rolls out on its own. And that’s the beauty of it: instead of wrestling with stiff, cold dough, you get to enjoy the process. When it sticks (and it will), don’t panic. Just coat your counter generously with flour and keep rolling. This dough is forgiving in the best possible way.
You have to be patient. There’s a lot of “roll, fold, and wait.” It’s a project, but one that ends with you feeling like a pastry boss and eating the best cookie of your life.
Classic French Palmier Cookies
PRINT RECIPE PIN RECIPEIngredients
For the Dough
- 180 g all-purpose flour (plus more for dusting)
- 42 g cold butter (cut into small chunks)
- 7 g salt
- 135 g cold water
For the Butter Block (Beurrage)
- 168 g cold butter
- 30 g all-purpose flour
For Laminating and Shaping
- Granulated sugar (as needed)
INSTRUCTIONS
Day 1: Making the Dough and Butter Block
- Make the Dough: In a bowl, combine the 180g flour and the 42g of cold butter chunks. Toss to coat the butter in flour.
- Using your fingertips, quickly rub the butter into the flour until the mixture resembles coarse breadcrumbs. Work quickly to keep the butter cold.
- Add the 7g of salt and 135g of cold water. Mix with a spatula until a sticky, wet dough forms.
- Turn the dough out onto a piece of plastic wrap. Wrap it and use your hands to shape it into a rough square. Place in the freezer for 40 minutes
- Make the Butter Block (Beurrage): Place the 168g of cold butter on a work surface. Use the palm of your hand to press and smear it to flatten it.
- Add the 30g of flour to the butter. Use a scraper to cut and fold the flour into the butter until no dry flour remains.
- Shape this butter-flour mixture into a square, roughly the same size as your dough square. Wrap in plastic wrap and refrigerate while the dough finishes chilling.
- Day 1: Lamination (Turns 1-4)
- Encase the Butter (Lock-In): Heavily flour your work surface. Place the chilled dough (it should be firm, not frozen) on the flour and dust the top.
- Gently flatten the dough with your hand until it’s large enough to wrap around the butter block.
- Place the butter block in the center of the dough. Fold the top left and bottom right corners to the center so they meet. Repeat with the other two corners. Pinch all the seams tightly to seal.
- 1st Turn: Roll the sealed dough package into a rectangle, approximately 20 x 40 cm (8 x 16 inches). Flour the dough and surface as needed to prevent sticking. Fold the bottom third of the dough up towards the center, then fold the top third down over it (like a letter).
- 2nd Turn: Rotate the dough 90 degrees so the short end is facing you. Roll it out again into a 20 x 40 cm rectangle and perform another letter fold.
- Chill: The dough has now had 2 turns. Wrap it tightly in plastic wrap and refrigerate for 40 minutes.
- 3rd Turn: Heavily flour your work surface and the dough. Roll it out into a 20 x 40 cm rectangle and perform a letter fold.
- 4th Turn: Rotate the dough 90 degrees so the short end is facing you. Roll it out into a 20 x 40 cm rectangle and perform a letter fold.
- Long Rest: Wrap the dough tightly in plastic wrap and refrigerate overnight.
Day 2: Final Lamination, Shaping, and Baking
- 5th Turn: Roll the dough into a 20 x 40 cm rectangle and perform a letter fold.
- 6th Turn: Rotate the dough 90 degrees, roll out to 20 x 40 cm, and perform a final letter fold.
- Wrap and refrigerate for 2 hours.
- Sugar Lamination – 7th Turn: Generously sprinkle sugar on your work surface and the top of the dough. Roll out to a 20 x 40 cm rectangle. Sprinkle more sugar on top and gently press it in. Perform a letter fold.
- 8th Turn:Rotate, roll out to 20 x 40 cm, sprinkle with sugar, and perform a final letter fold.
- Wrap the dough and refrigerate for 40 minutes.
- Shaping the Palmiers: Cut the dough in half. Refrigerate one half while working with the other.
- On a surface sprinkled with sugar, roll one half of the dough into a rectangle about 0.6 cm (1/4 inch) thick.
- Trim the edges to create a neat rectangle. Generously sprinkle sugar over the entire surface.
- Fold the two long sides inward so they meet in the center. Sprinkle with more sugar.
- Fold one half over the other, like closing a book. You now have a long log.
- Wrap the log in plastic wrap and place it in the freezer for 40 minutes. Repeat the same process with the second half of the dough.
- Baking: Preheat your oven to 400°F (204°C). Line baking sheets with parchment paper or silicone mats.
- Remove one log of dough from the freezer. Using a sharp knife, cut it into 1 cm (1/2 inch) thick slices.
- Coat both sides of each slice in sugar.
- Place the slices on the prepared baking sheets, leaving about 2 inches between them as they will expand. Bake in small batches (about 6 per sheet).
- Bake for about 15 minutes, or until the tops are lightly golden brown.
- Carefully flip each Palmier and bake for another 8-10 minutes, until the second side is golden brown.
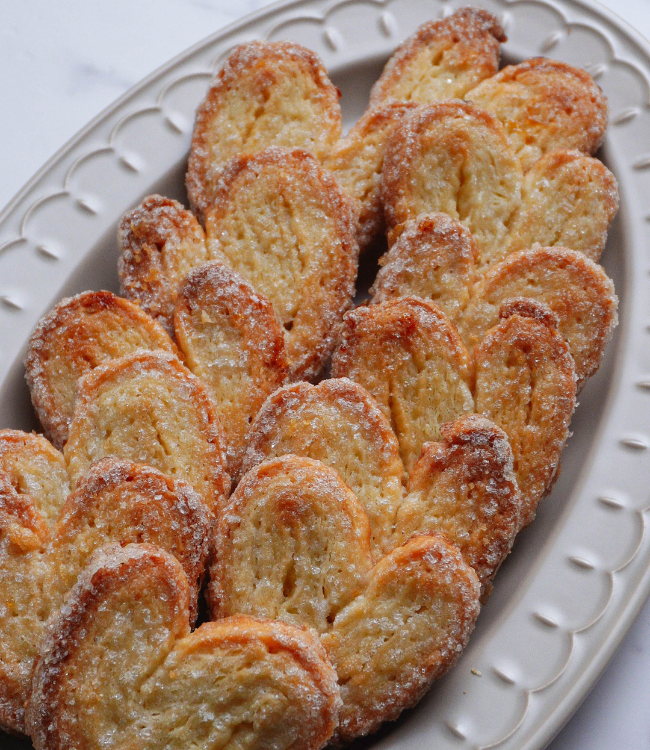
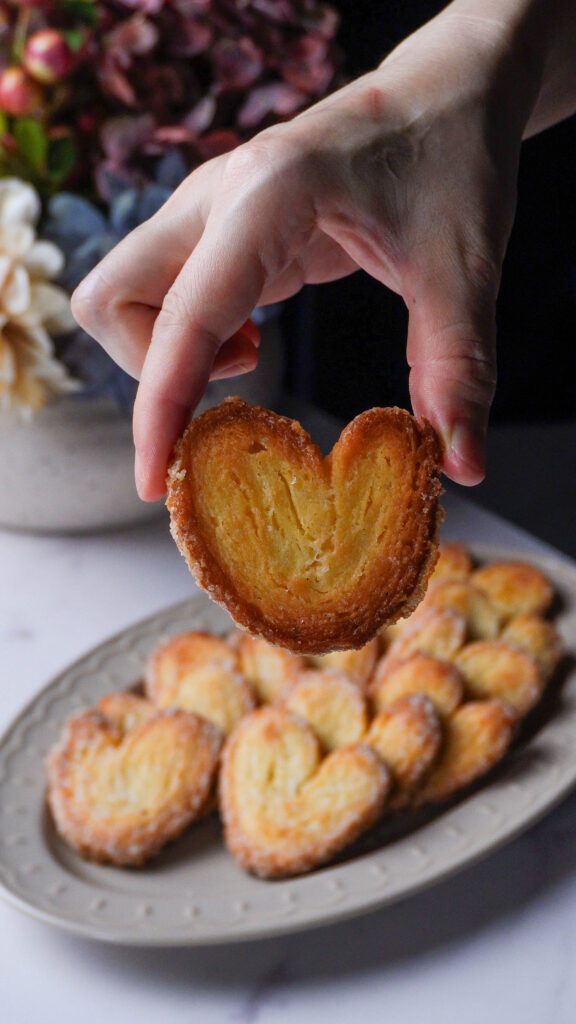
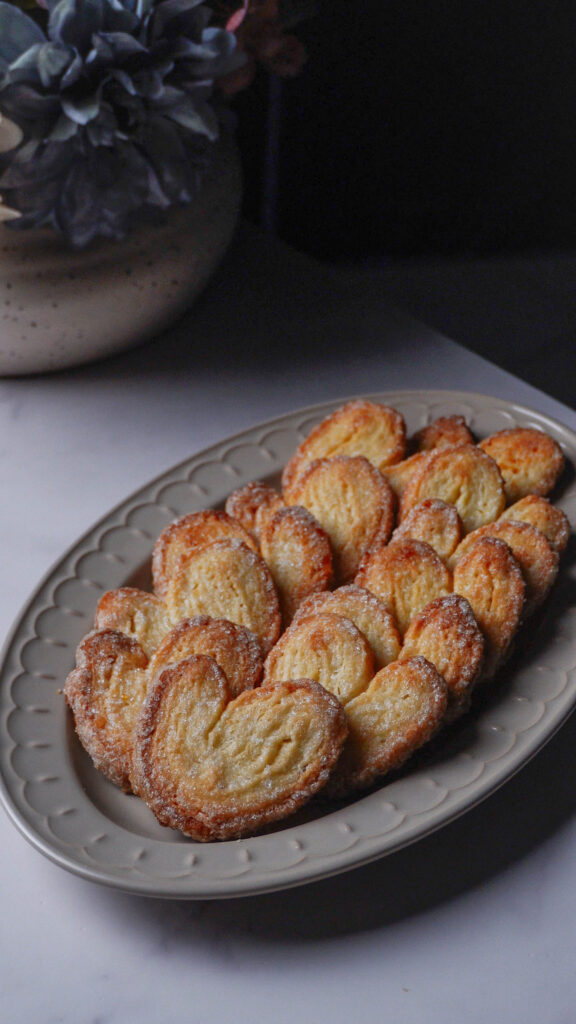
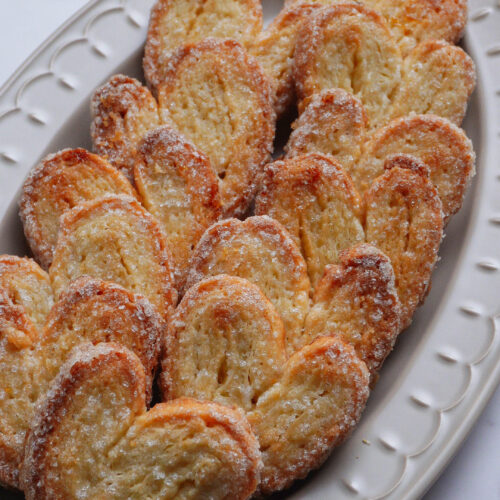
- Immediately transfer the cookies to a wire rack to cool completely. They will crisp up as they cool.
Notes
- Heavily flour your work surface. Don’t just sprinkle—create a generous, even layer of flour.
- Place your cold dough on the flour and flour the top of the dough as well.
- If it sticks, don’t panic. Add another generous dusting of flour underneath and on top, then continue rolling.
- Brush off excess flour before folding. Once your dough is rolled to the correct size, use a dry pastry brush to brush off any loose, excess flour from the surface. This prevents dry, raw flour pockets inside your laminated layers.
- Chill as needed. If the dough becomes soft, warm, and difficult to work with at any point, simply fold it, wrap it, and return it to the refrigerator for 20-30 minutes. This re-chills the butter and relaxes the gluten.